
Here are a few pics I took while removing my airbag wheel and handbrake to get them recovered in new leather. Click thumbnails for larger pics. I imagined terrible things happening to the car with no handbrake, no steering wheel and shifter in neutral - terrible things like the car rolling away down the driveway! The wheel chocks stopped the car moving - and once the shifter handle was removed, back into park she went.
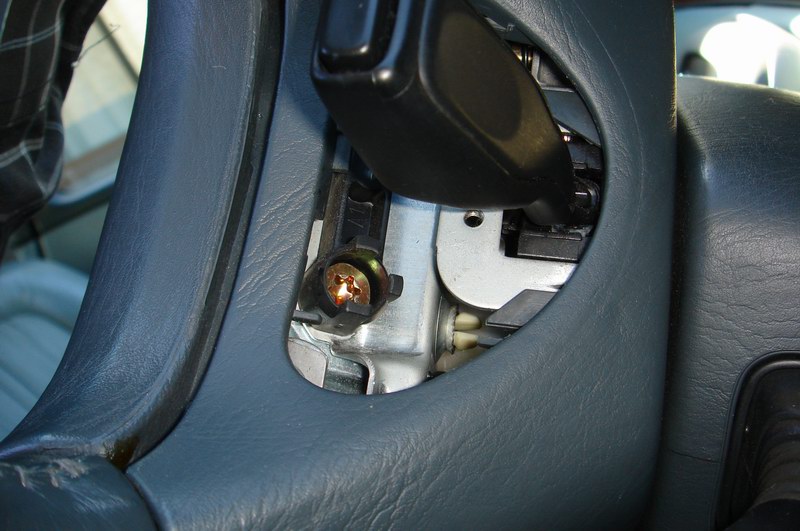
I removed the battery from the car - I wanted to idiot proof it - I didn't want to power up the car and get a possible airbag error coming up. There is a procedure at the end of the Blinky dash page to remove airbag errors.Under the plastic covers on each side of the wheel I found 4 screws.
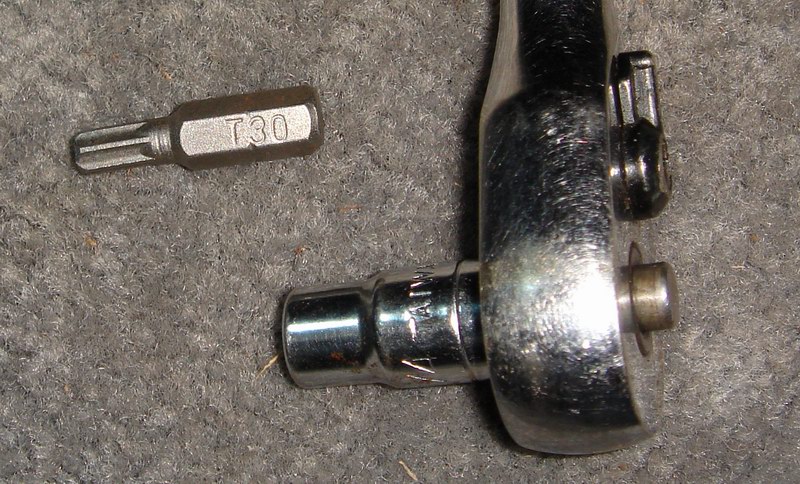
Not just any screws - but those less common Torx screws. I used a Torx bit that came with my cordless drill kit held by a small socket to remove the screws.
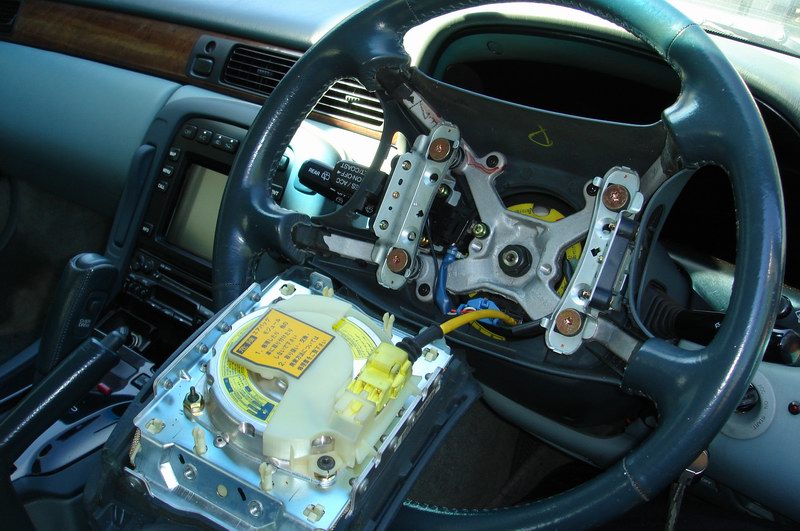
The airbag came out easily.
There was a fancy double lock on the airbag cable.
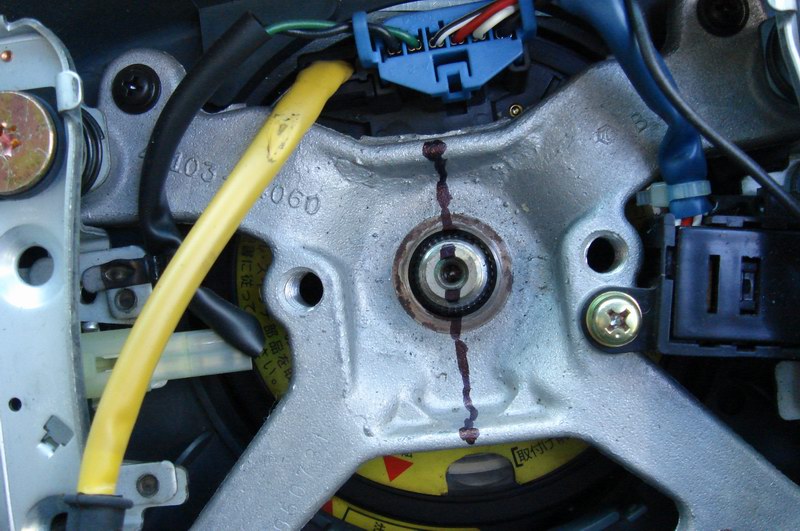
I marked a line on the wheel and shaft after removing the 17mm nut. Hopefully I'll be able to get the wheel back on straight! The straight ahead position on the shaft is the important bit. I can always find straight ahead on the wheel - but the shaft has no markings.
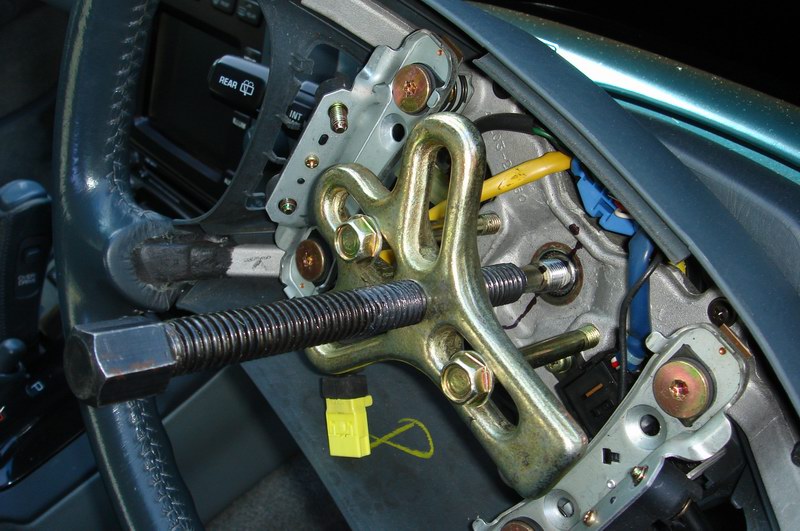
My harmonic balancer puller was invaluable. The wheel is jammed on real tight. When I was a kid I used to brace my knees under the wheel, pull like hell and bash the nut on the shaft with a hammer and hope it would pop off. No more! These things are cheap, I wouldn't even start the job without one of these babies.
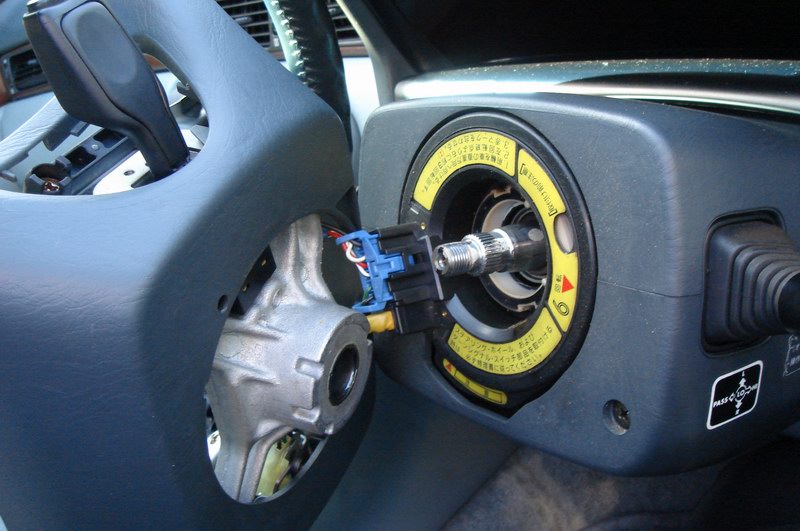
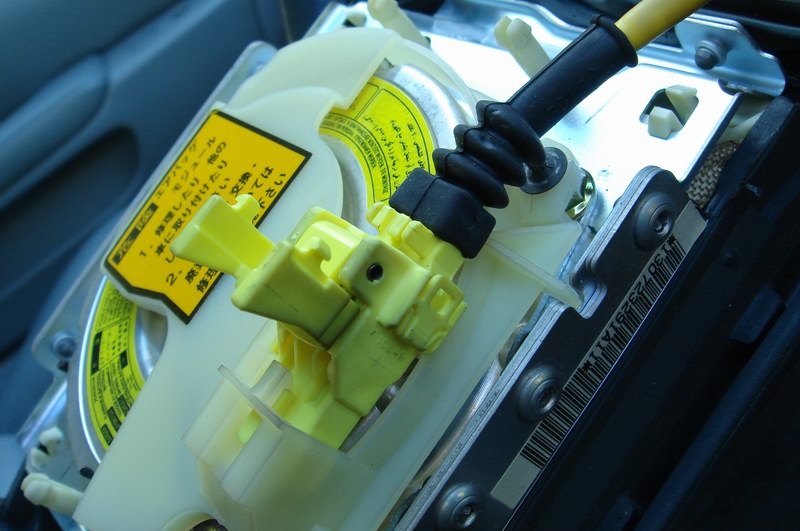
I disconnected the blue plug and let the airbag plug stay there and and hang.
To tighten the handbrake two 10 mm spanners are needed to tighten the cable - gives the handbrake more "grunt" and makes it hold the car without pulling the handle up too far. The cup holder is stiff to pull up and out but it does move. No use mucking around here as it's easier to wait until the handbrake is removed to get at these fiddly nuts.
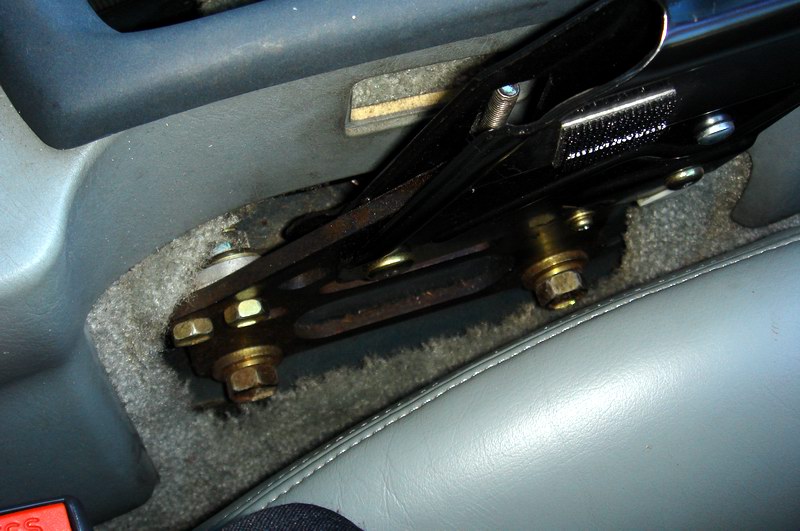
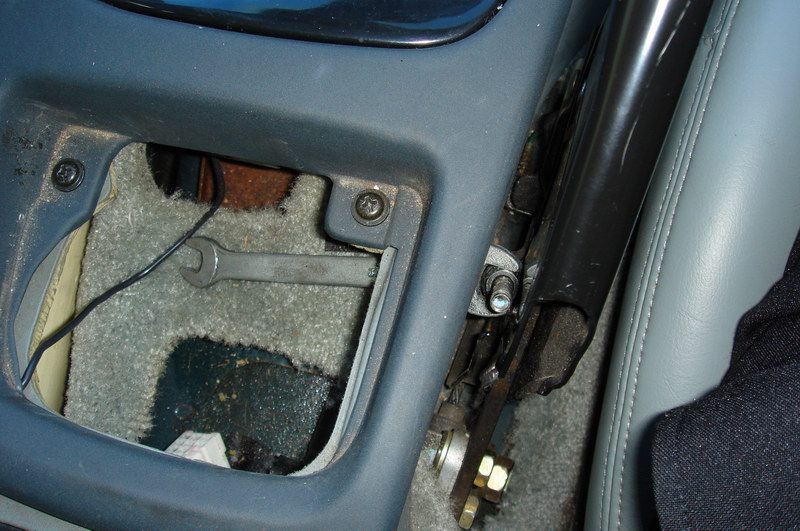
The big nuts down the bottom are 17 mm. The two smaller ones that clamp the cable are 12 mm - need to hold the nuts and turn the bolts. I remove the little screw on the right - it holds the handbrake switch - the other end of the switch cable is under the console so I reckon it's easier to just unscrew it here.
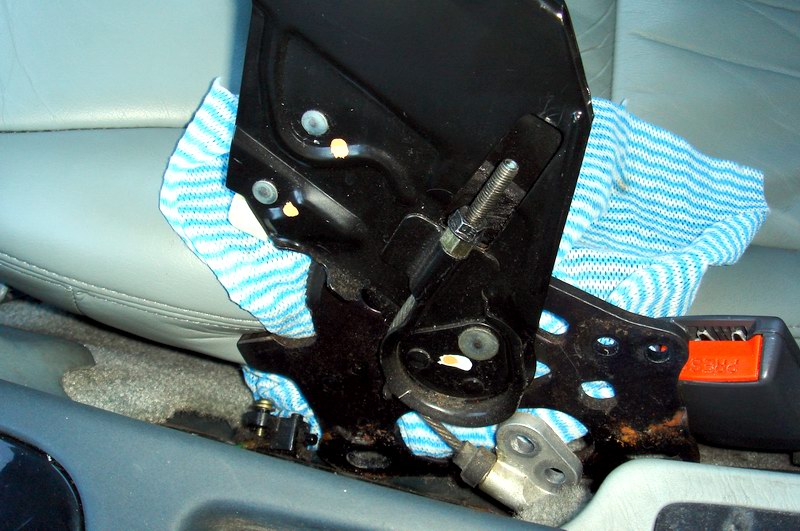
With a cloth on the seat and the handle moved away the cable lock nuts are a piece of cake. The small tab that holds the cable in the guide can be oh so gently pried with a screwdriver away just enough to allow the cable to come free.
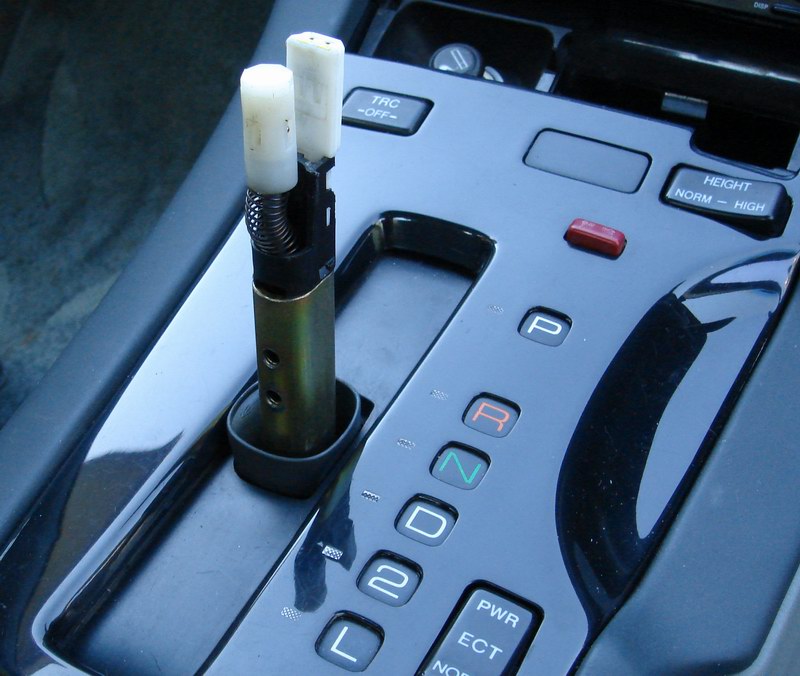
I put the shifter in neutral, pushed the bottom cover down and removed two screws to remove the shifter. then I put the shifter back into park. With no handbrake I want to do everything to keep the car still.
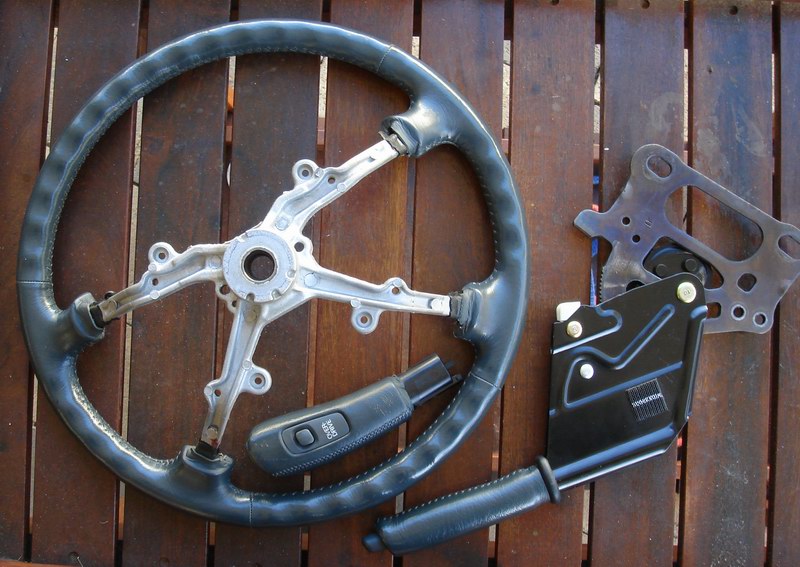
Here are the bits to be recovered in nice new leather. To post this lot in Australia runs around the 24-30 dollar mark
February 2006
by Peter Scott


